1 Importer#
Danger
In case you do not know how our GUI handles plugins, please take a quick look at the part Developing Plugins in our Readme.
1.1 Overview#
This enables our GUI to load and display your specific type of data, as shown in this video form 0:06 to 0:16. Please additionally take a look at this GIF, which shows you how your plugin gets into the GUI.
Using the working example
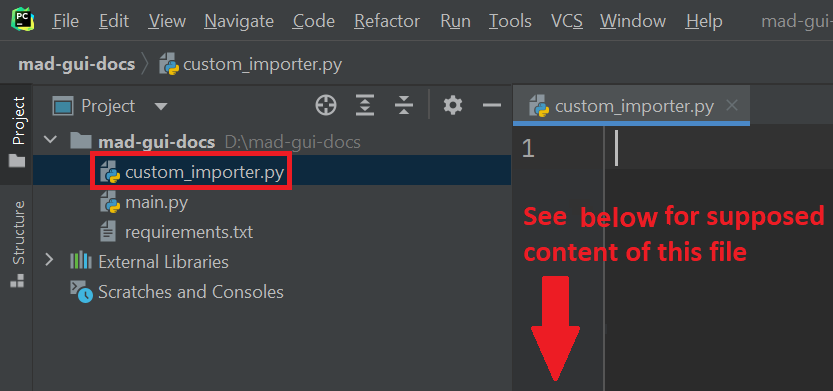
The subsection below shows a working example, which you can adapt to your case. To run it:
create a file as shown in this image
copy the code snippet containing CustomImporter class to the file (see long code snippet in section 1.2 Develop your custom importer)
download our example CSV
in a separate file execute the following code snippet and then load data as shown in our exemplary video:
from mad_gui import start_gui
from custom_importer import CustomImporter # you need to create this file and class, see below

start_gui(plugins=[CustomImporter])
1.2 Develop your custom importer#
After you created an empty file, as described above, copy the code below to it to get started. If the user selects your CustomImporter, selects a file and then presses start_processing, the GUI will pass the selected file to your CustomImporter.load_sensor_data (argument file_path), as shown in this GIF.
Adapting the working example
To adapt this working example to load your data, just:
load data of your system into sensor_data and sampling_rate_hz in load_sensor_data
make sure the variable sensor_data keeps a dataframe and sampling_rate_hz keeps a float
Optionally, you can set the file type that the importer can load, e.g. *.csv. This will restrict which files the user can select. Also, you can change the importer's name by changing the returned string of the regarding method. The name will show up in the dropdown menu in the GUI's pop up when the user clicks Load data.
"""These are the contents of custom_importer.py, which holds my first importer."""

from typing import Dict
import warnings
import pandas as pd
from mad_gui import start_gui, BaseImporter

class CustomImporter(BaseImporter):
    loadable_file_type = "*.*"

    @classmethod
    def name(cls) -> str:
        ################################################
        ###                   README                 ###
        ### Set your importer's name as return value ###
        ### This name will show up in the dropdown.  ###
        ################################################
        warnings.warn("The importer has no meaningful name yet."
                      " Simply change the return string and remove this warning.")
        return "My Importer"

    def load_sensor_data(self, file_path: str) -> Dict:
        ##################################################################
        ###                       README                               ###
        ### a) Use the argument `file_path` to load data. Transform    ###
        ###    it to a pandas dataframe (columns are sensor channels,  ###
        ###    as for example "acc_x". Assign it to sensor_data.       ###
        ###                                                            ###
        ### b) load the sampling rate (int or float)                   ###
        ##################################################################


        warnings.warn("Please load sensor data from your source."
                      " Just make sure, that sensor_data is a pandas.DataFrame."
                      " Afterwards, remove this warning.")
        sensor_data = pd.read_csv(file_path)[["acc_x", "acc_y", "acc_z", "gyr_x", "gyr_y", "gyr_z"]]

        warnings.warn("Please load the sampling frequency from your source in Hz"
                      " Afterwards, remove this warning.")
        sampling_rate_hz = 1 / sensor_data["time"].diff().mean()

        ##############################################################
        ###                      CAUTION                           ###
        ### If you only want to have one plot you do not need to   ###
        ### change the following lines! If you want several plots, ###
        ### just add another sensor like "IMU foot" to the `data`  ###
        ### dictionary, which again hase keys sensor_data and      ###
        ### and sampling_rate_hz for that plot.                    ###
        ##############################################################
        data = {
           "IMU Hip": {
           "sensor_data": sensor_data,
           "sampling_rate_hz": sampling_rate_hz,
           }
        }

        return data
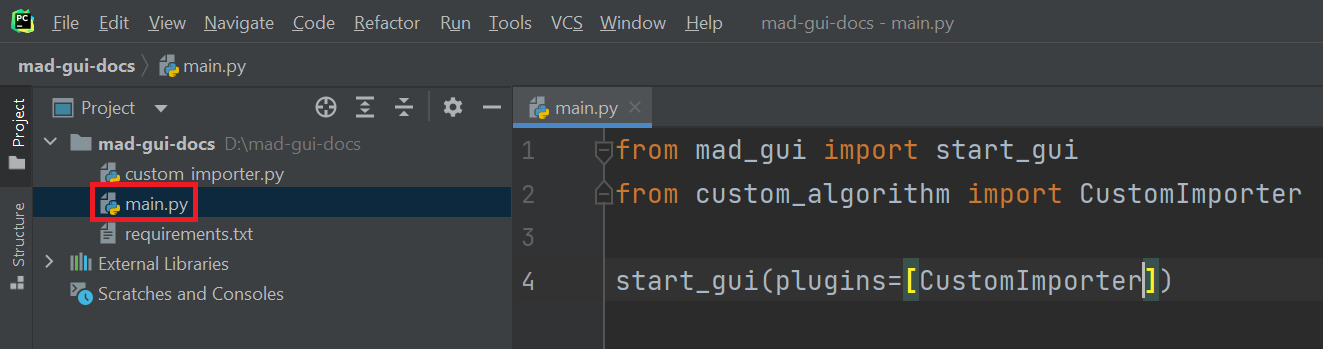
Warning
You need to pass your importer to our GUI like this as it is also shown in this image:
from mad_gui import start_gui
from custom_importer import CustomImporter

start_gui(plugins=[CustomImporter])
After you have performed these steps, you can select the importer in the GUI by pressing Load Data and then selecting it in the dropdown on the upper left in the pop-up window. From user perspective it should work as we have described in our exemplary video about loading data.
Note
In case loading your file does not work, we recommend to set breakpoints into your loader and check, whether everything does what you expect it to do. Also you might want to look at our section about Troubleshooting development or at load_sensor_data's documentation.