1 Prepare Development#
This chapter helps you to set up your development environment. In case you are already familiar with your IDE / PyCharm and python virtual environments, you may directly jump to Adapting the GUI at the bottom of this page.
1.1 Installing necessary software#
Necessary software to be installed in advance:
Anaconda will be used to create a python virtual environment into which all dependencies of the GUI are going to be installed. This virtual environment will then be used as python interpreter in the PyCharm IDE to develop the GUI.
1.2 Preparing an environment#
After installing anaconda, open the Anaconda Prompt. Then create a virtual environment in there by using the following commands:
conda create -n mad_gui python=3.7 --no-default-packages
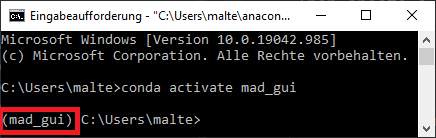
conda activate mad_gui
If the environment is activated you can see (mad_gui) in the commandline before your next input.
1.3 Installing MaD GUI#
You have two possibilities for installing the dependencies:
Recommended: Assuming you want to build on top of the MaD GUI and do things that are described in Developing plugins, installation can be done as described in Installation for Customization (recommended).
In case you want to change parts at the core of the GUI, which go beyond the parts described in Developing plugins, you should use poetry as described in Installation for Contributing
1.3.1 Installation for Development (recommended)#
Make sure mad_gui virtual environment is still activated (see Preparing environment). Depending on how you are handling dependency management, you can use one of the three suggestions:
No dependency management: pip install mad_gui
Using requirements.txt: add mad_gui and then pip install -r requirements.txt
Using poetry: poetry add mad_gui
Make sure to include the underscore! Otherwise, you will be installing something else.
1.3.2 Installation for Contributing#
Click the triangle to unfold
1.3.2.1 Retrieving the repository#
If you are familiar with git, simply clone the repository:
git clone https://github.com/mad-lab-fau/mad-gui.git
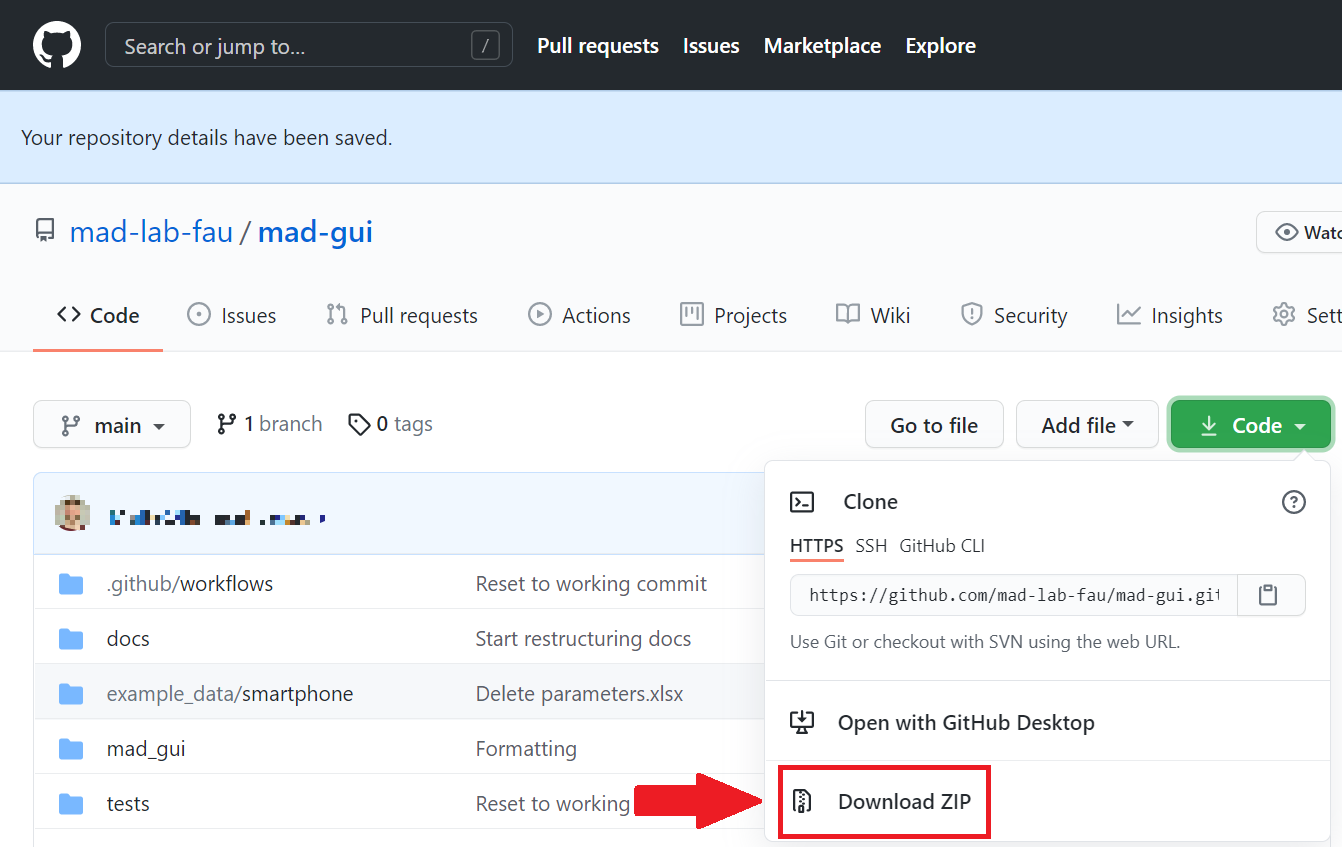
If you are not familiar with git, go to the start page of the repository, click the download button and then chose zip as shown in this image. Afterwards, extract the contents from the zip file.
1.3.2.2 Actual installation#
Stay in the anaconda prompt and switch to the directory, where you have downloaded the repository to. Most likely, you will need commands like these:
cd ..  # to go to a parent directory
cd folder_name  # to enter a folder
dir  # (Windows) to list all files/folders in the current working directory
ls  # (Unix) to list all files/folders in the current working directory
As soon as you have navigated to the repository's folder and you can see files like pyproject.toml, the installation can start. Therefore, you first need to set up poetry. Setting up poetry with conda as the main Python version can be a little tricky. First, make sure that you installed poetry in the recommended way using the PowerShell command.
Then you have 2 options to start using poetry for this package:
Using a conda env instead of venv
echo Installing dependencies
echo Poetry will `detect that you are already using a conda env <https://github.com/python-poetry/poetry/pull/1432>`_ and will use it, instead of creating a new one.
poetry install --no-root`
After running the poetry install command you should be able to use poetry without activating the conda env again. You just have to set up your IDE to use the conda env you created (see next section).
- Using conda python and a venv
This only works, if your conda base env has a Python version supported by the project (>= 3.7)
Activate the base env
Run poetry install --no-root. Poetry will create a new venv in the folder .venv, because it detects and handles the conda base env different than other envs.
Everything else should work like you are not using conda
1.4 Configuring PyCharm#
You can either configure the python interpreter in pycharm directly while creating the project, or afterwards. Both options are described below.
1.4.1 Option A: When setting up the project#
Open PyCharm and create a new project. On the left hand side, select Pure Python. On the right hand side:
Set the location to a path where you want to keep the project.
Unfold the element Python Interpreter
Select Previously configured interpreter and click on the three dots on the very right
On the left hand side select Conda Environment
On the right hand side select the environment you have created before. By default, the environment should be located in:
Windows: C:/Users/<your user name>/anaconda3/envs/mad_gui/python
Unix: home/<user>/anaconda3/envs/mad_gui/python
1.4.2 Option B: After setting up the project#
In your opened project, do the following steps:
File -> Settings -> Project: <your project name> -> Python Interpreter
Click the wheel on the top right and then Add...
On the left hand side select Conda Environment
On the right hand side choose the radio button Existing environment
Select the python of the environment you created, by default it should be here:
Windows: C:/<user>/anaconda3/envs/mad_gui/python
Unix: home/<user>/anaconda3/envs/mad_gui/python
1.5 Run a script in PyCharm#

Click Add Configuration... on the top right:
In the new window, click on the + smybol on the top left and select Python. On the right hand side do the following:
Field |
Content |
|---|---|
Name |
Start GUI |
Script path |
<path to the repository on your machine/start_gui.py> |
Python Interpreter |
Select the environment you created before |
You are done with configuration, click OK or Apply. Where you saw Add Configuration... previously, should now be written Start GUI. Next to it, you see the green play button, which will start the GUI. The bug next to it can be used to start the debug mode.